There are two ways of placing a navigation on images objects. The first is to enter a link in Image object itself and the second is to Add additional navigation component to the Image. For both of them if you click on an image it will lead you to the entered destination. Let see both how they work.
Link destination address property on Image
In Image component under Content tab there are the following properties that are responsible for navigation on images:
Link destination address - link or ID of page
Link Text - This is the text (label) of the link
Target - how the link will be opened – same or new tab, new window, etc.
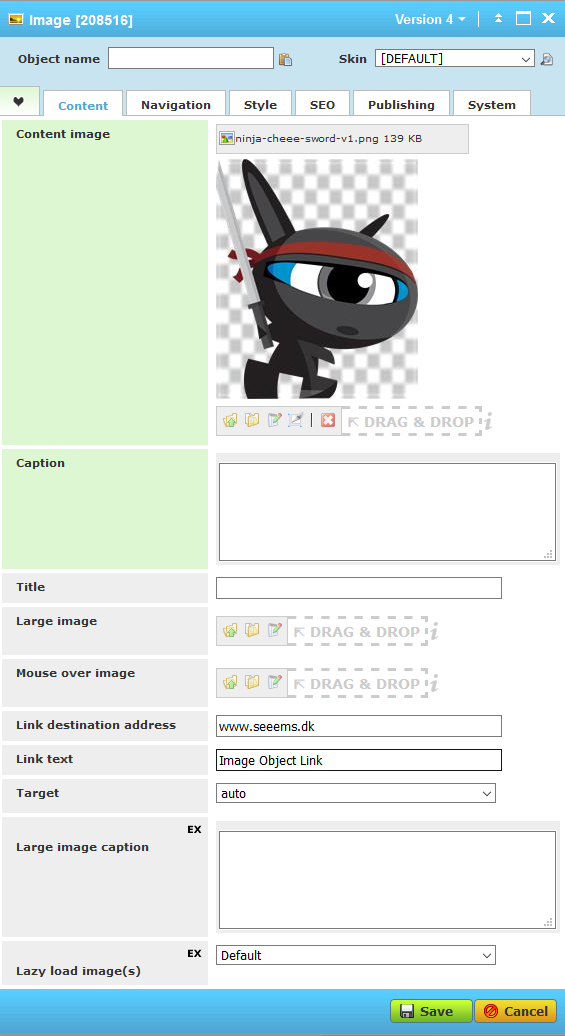
Only Link destination address property is required if you want to link on Image click.
Links, Pages and File Documents components on Image
You can add also Links, Pages and Documents components to an Image object in order to create navigation. To do that you have to enter first an image and then add a navigation object to the image. Just highlight the Image object and choose Add to in order to add some of the above-mentioned components.

You can even add several navigation objects to the image which will create sub-navigation menu that will be shown if you click on the image.
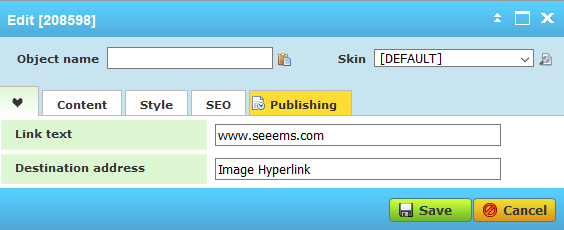
Add Link (Hyperlink) component to the Image object – it will create a link based on the Destination address property field.
Add a Page component to the Image object – it will create a page automatically based on the entered data in the property fields.

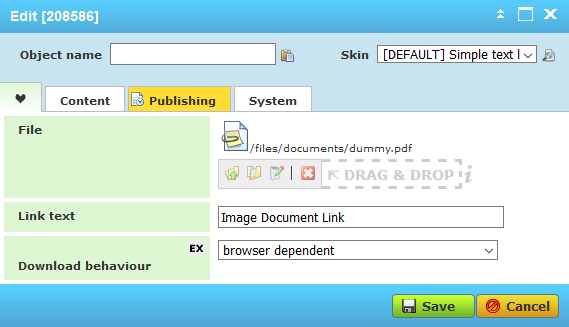
Add a File Document component to the Image object – It will create a link to File document based on the data entered in properties fields.
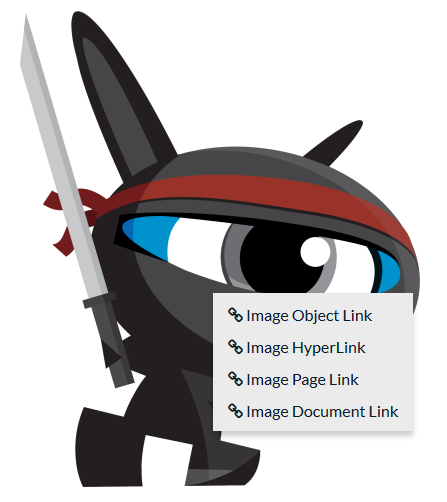
When all of the navigation objects are added to the Image object and you click on the Image it will display all of them as a dropdown menu.